
10 Essential Real Estate Photography Tips for Realtors: Insights from a Decade of Experience
With the digital world being the first stop for most home buyers, first impressions have never been more critical. As a professional real estate photographer with a decade of experience, I've seen firsthand how high-quality photos can make a significant difference in how quickly a property sells and even in its final selling price. Here are my top 10 tips to help realtors capture the kind of photos that sell homes.

1. Let There Be Light!
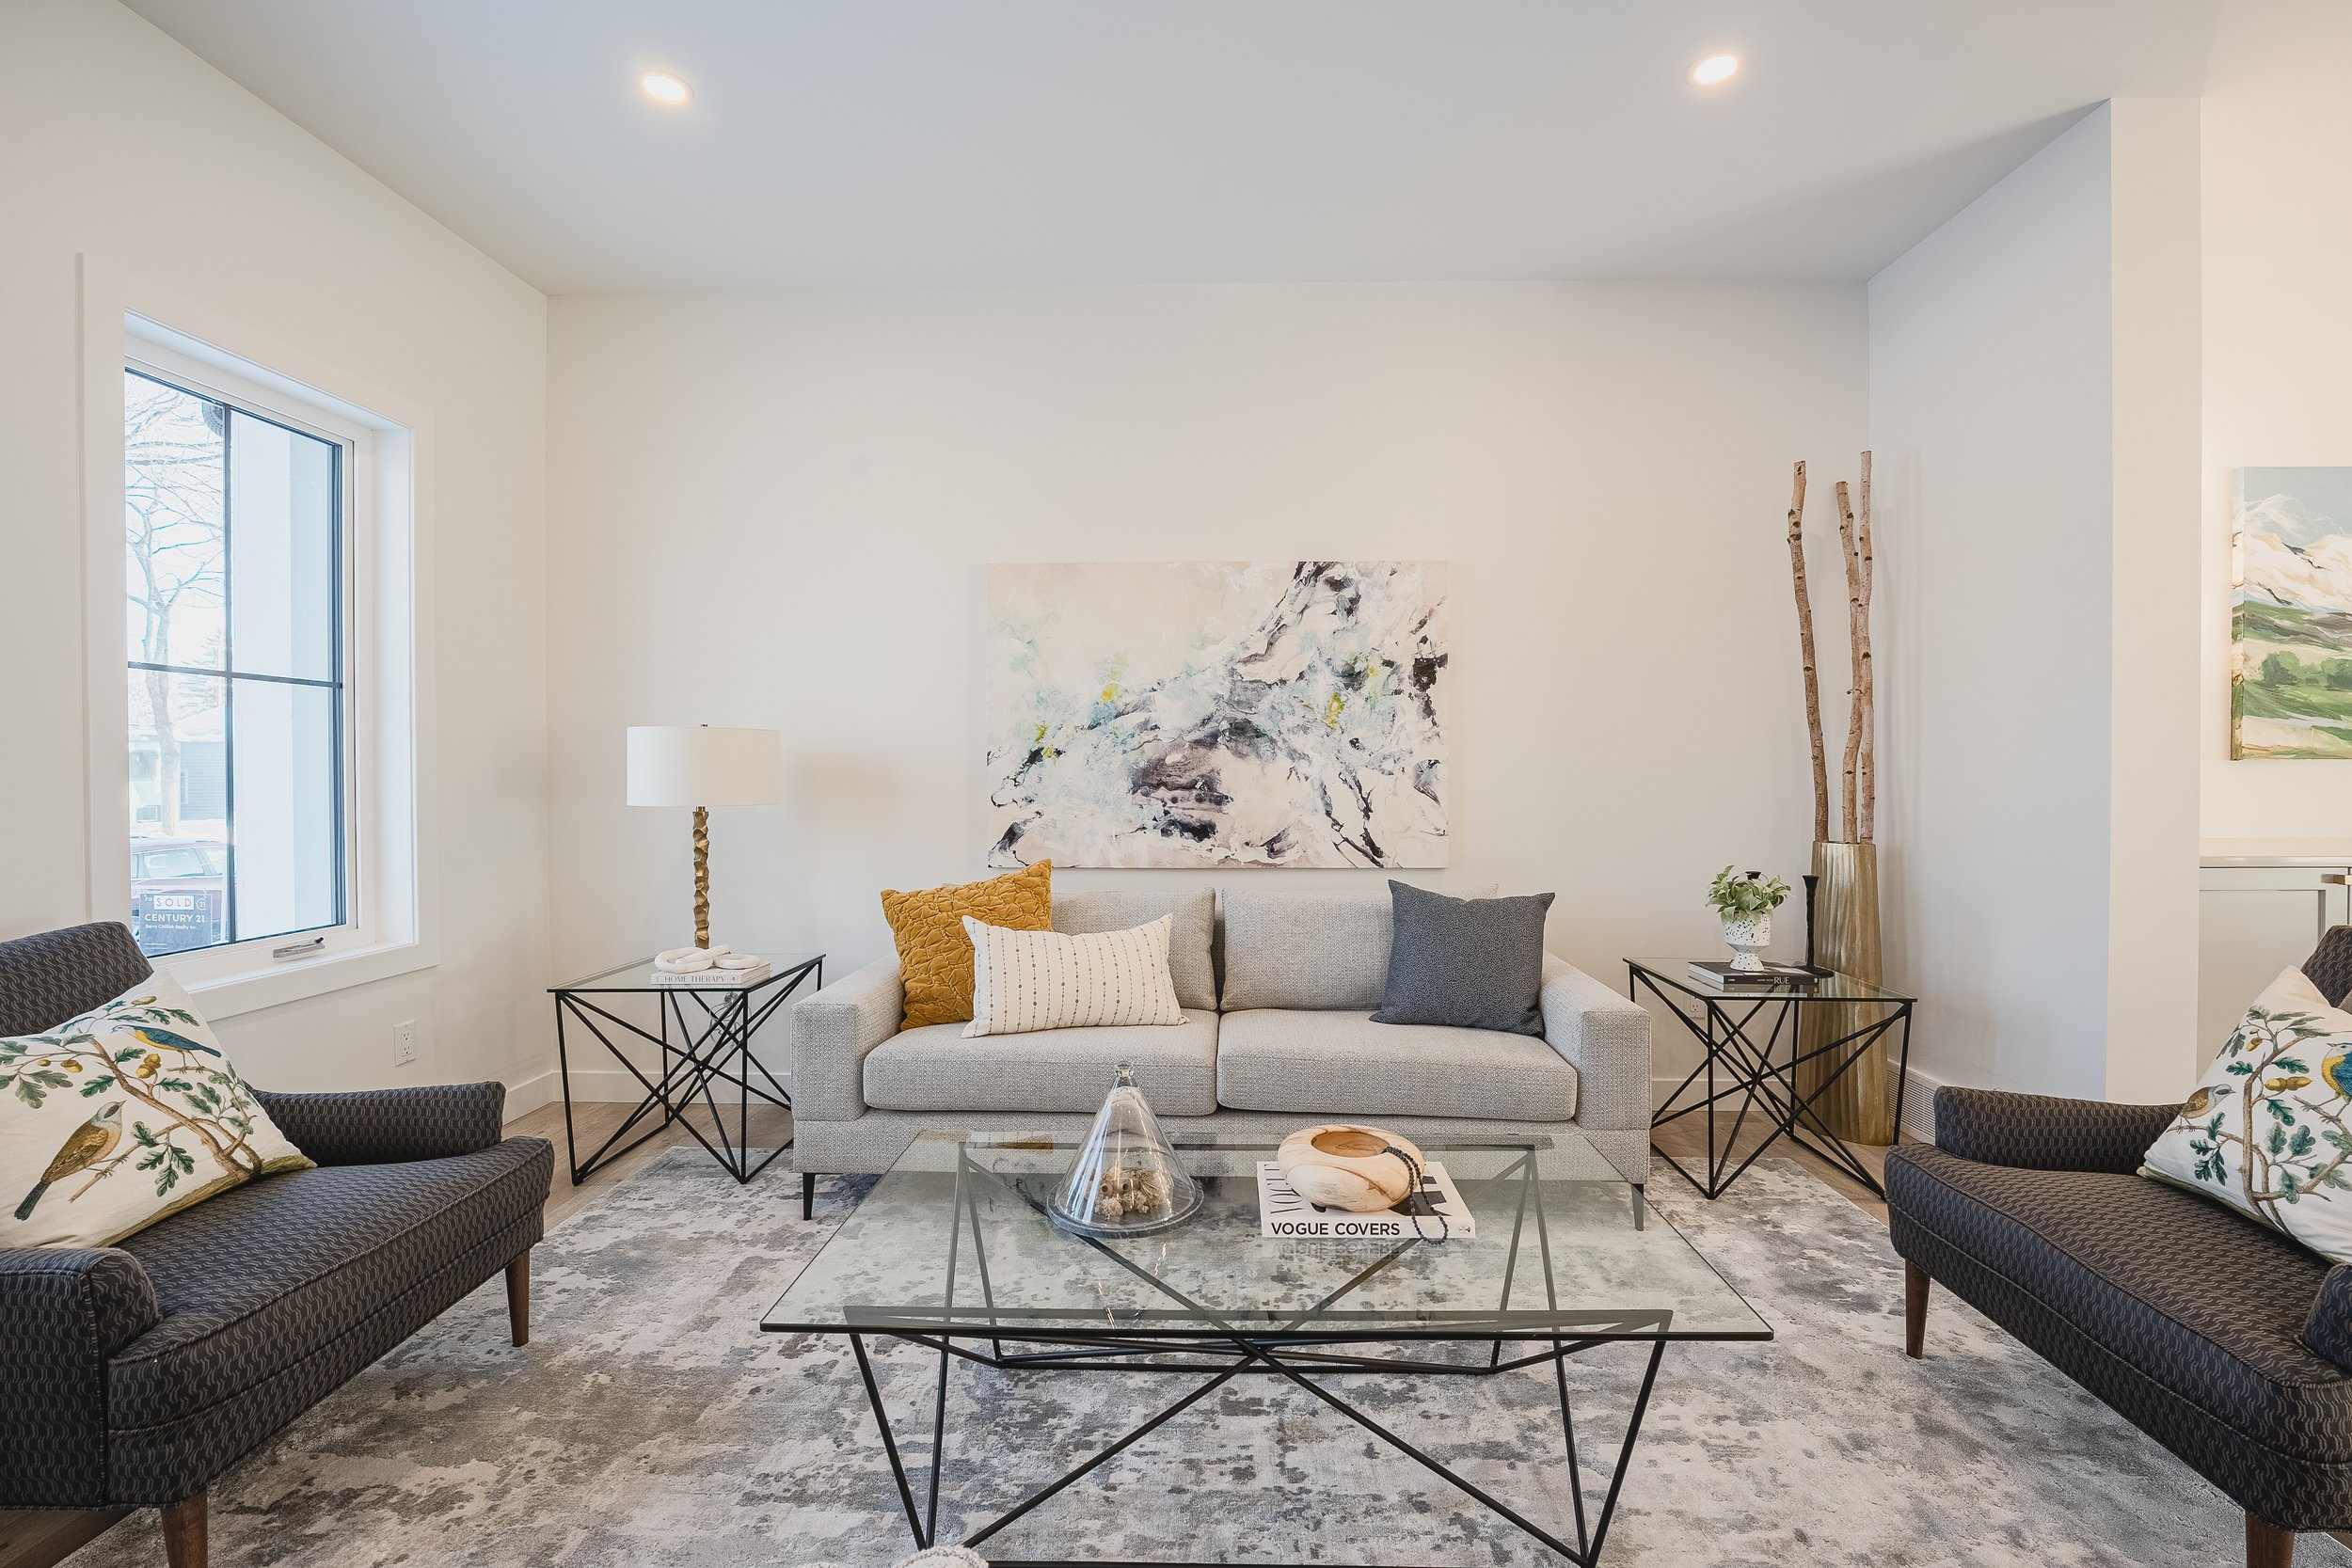
Natural light is your best friend when it comes to real estate photography. It makes spaces appear larger, more welcoming, and more attractive. Always shoot during the day when the light is at its best, and open all curtains and blinds. If natural light is lacking, don't shy away from using additional lighting to eliminate shadows and evenly distribute light throughout the room.
2. Stage Like a Pro
Staging isn't just for showings. Before you start snapping pictures, take the time to declutter and depersonalize each space. You want potential buyers to envision themselves living in the home, which is easier to do without personal items in the frame. Arrange furniture and decor to highlight the space's best features, like a cozy fireplace or large windows.
3. Find the Right Angle
Shooting from the corner of the room often provides the best perspective, making the room appear larger and more inviting. Avoid shooting straight on or at weird angles that can distort the space. Keep your camera at about chest height to ensure a natural and appealing view.
4. Embrace Wide Angles
Wide-angle lenses are a must in real estate photography. They allow you to capture more of the room in a single shot, giving viewers a better sense of the space. However, be cautious not to overdo it; ultra-wide angles can distort rooms, making them appear unnaturally large.
5. Focus on the Details
While capturing the essence of each room is crucial, don't forget to photograph the unique details that make a property special. Whether it's intricate crown molding, custom cabinetry, or a stunning backsplash, these details can intrigue and attract potential buyers.
6. Post-Processing is Key
Editing your photos can make a world of difference. Adjusting exposure, brightness, contrast, and color balance can help your photos look their best. However, keep edits realistic to ensure photos accurately represent the property.
7. Don't Skip the Exterior
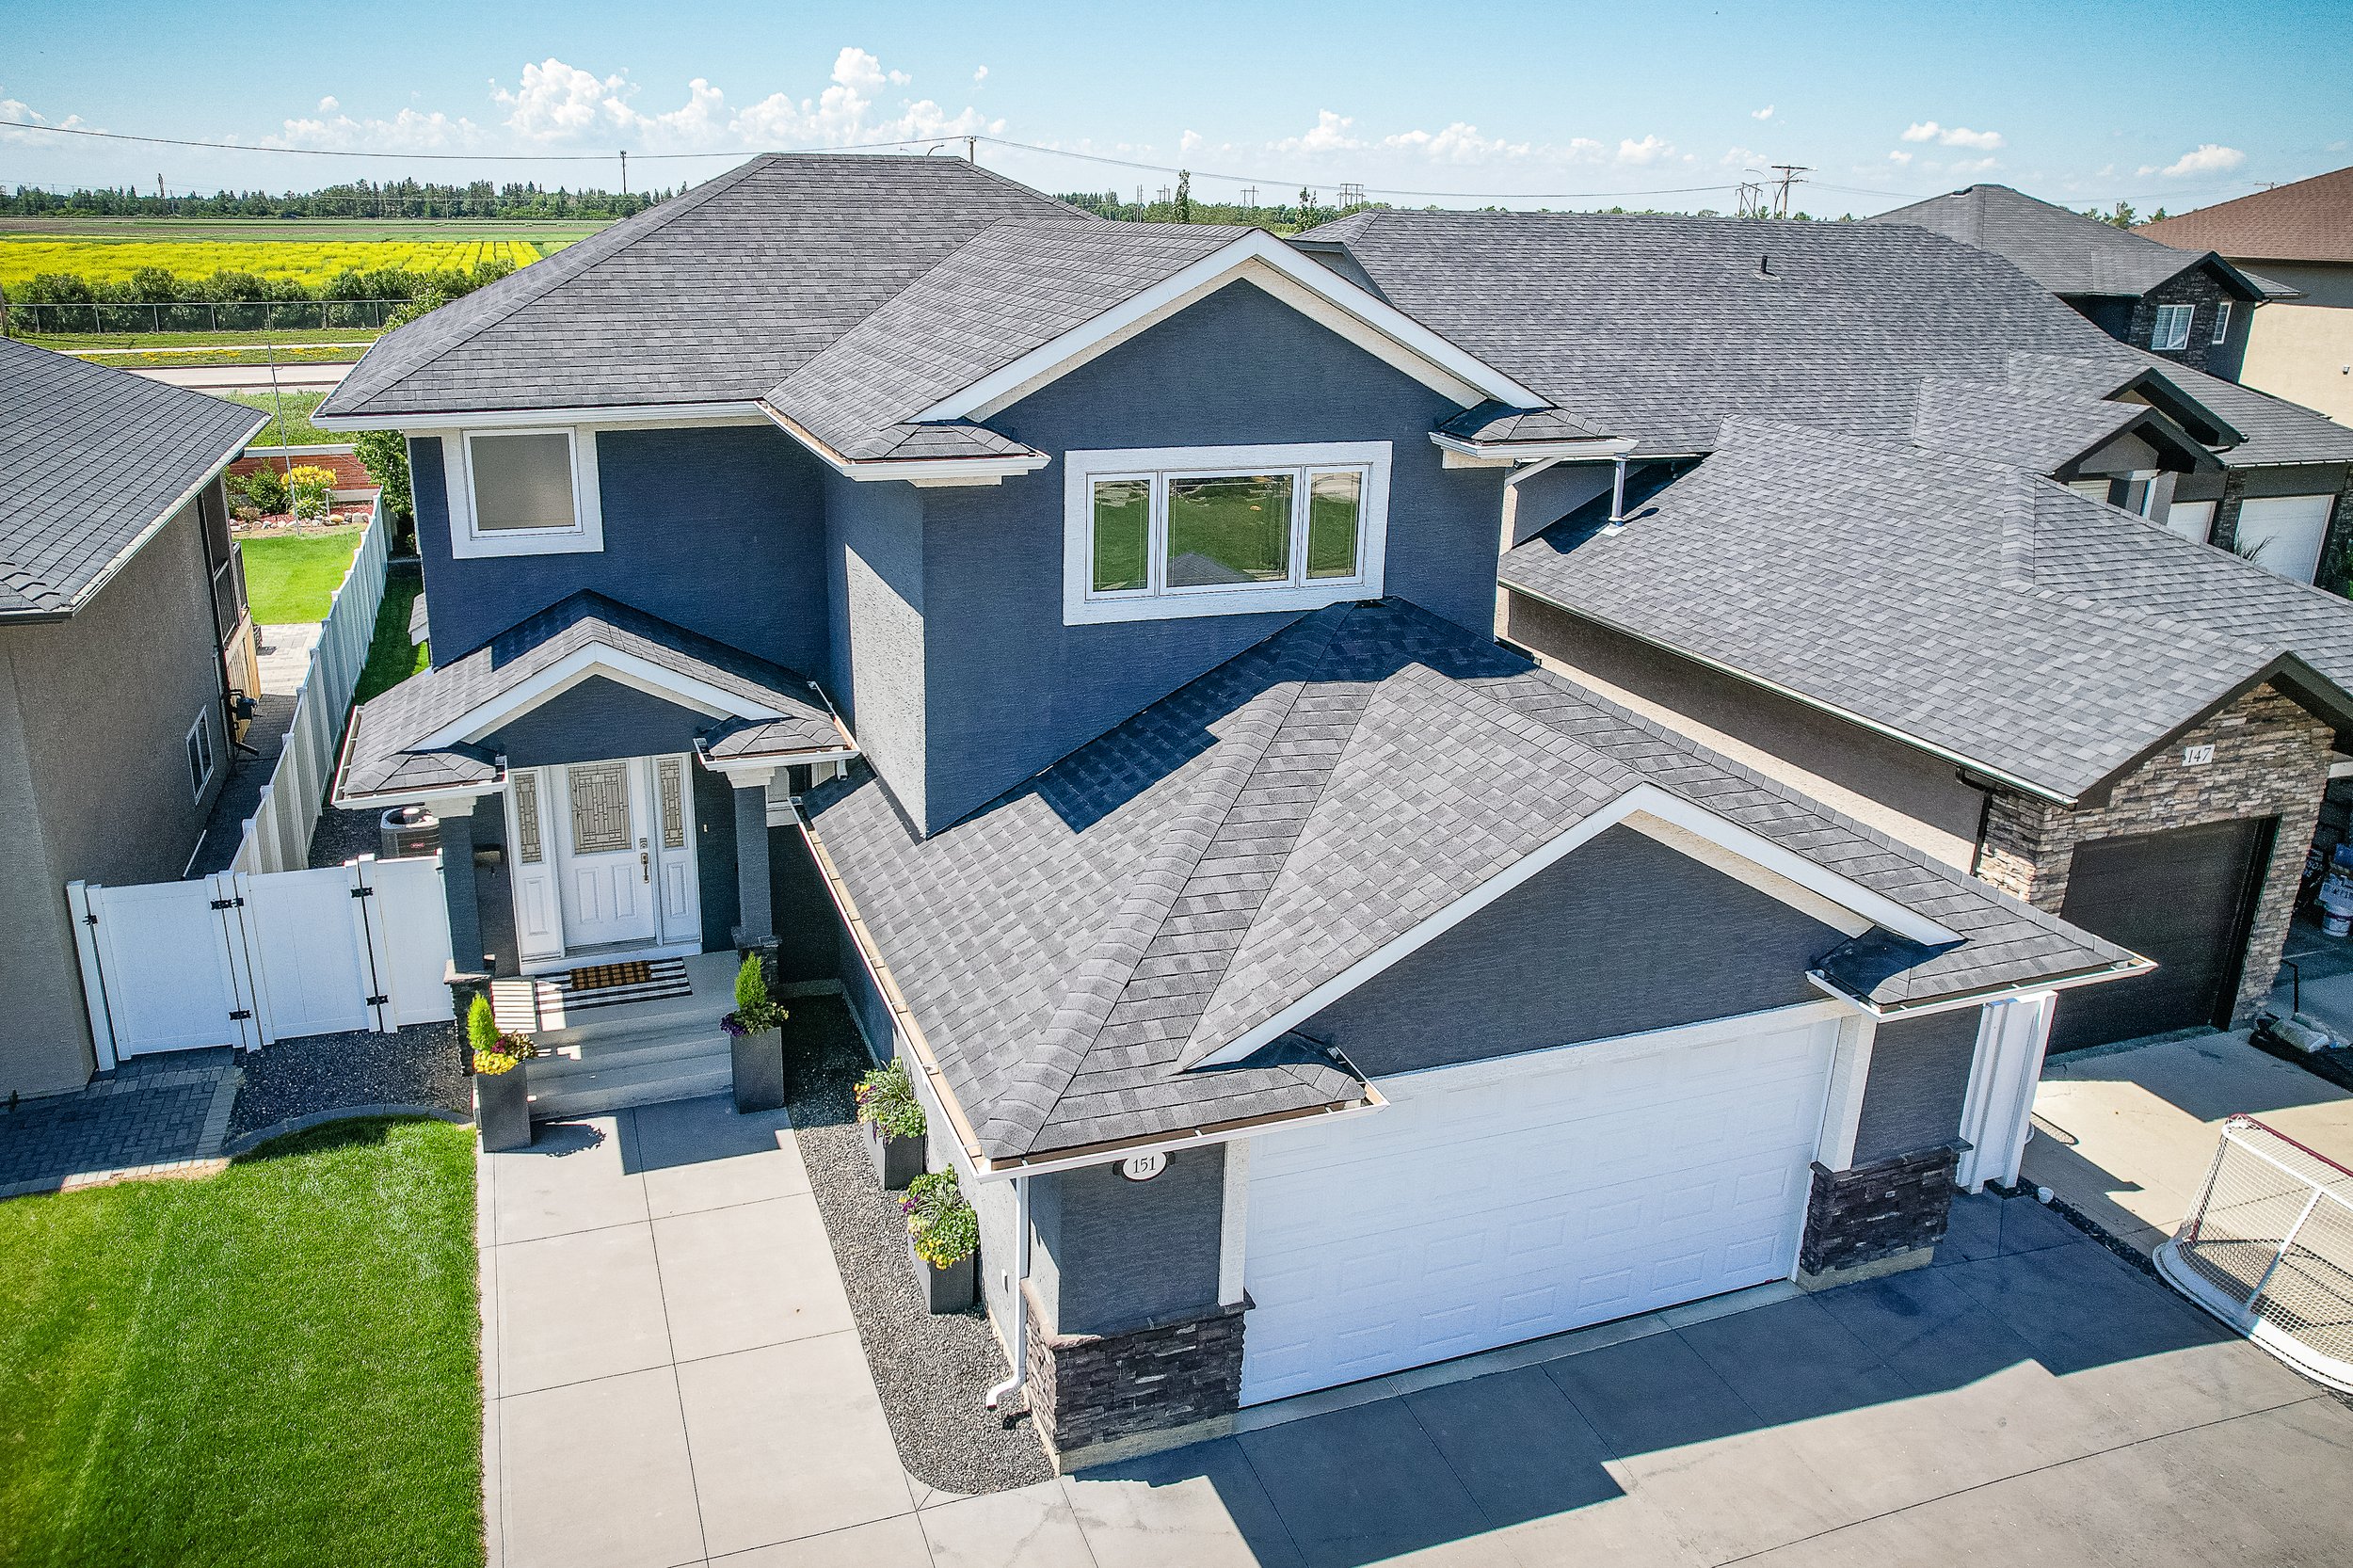
Curb appeal matters in your photos just as much as it does in person. Take exterior shots on a bright, clear day, and include a few at dusk with all the home's lights on for a warm, inviting glow. Highlight any outdoor living spaces, gardens, or unique features. PhotoShop has made it easier than ever to just add some blue skies to get rid of those drab overcast days.
8. Quality Over Quantity
While it's tempting to upload dozens of photos to your listing, focus on quality over quantity. Choose the best photos that accurately represent the property and show it in its best light. Too many photos can overwhelm potential buyers.
9. Keep It Consistent
Ensure your photos have a consistent look and feel by using similar angles, lighting, and editing styles throughout your listing. This consistency makes your listing appear more professional and cohesive.
10. Invest in Professional Equipment (or a Pro)
While smartphones have come a long way, nothing beats the quality of photos taken with a professional DSLR camera. Investing in a good camera, a tripod, and a wide-angle lens can elevate your real estate photography. If photography isn't your forte, consider hiring a professional. It's an investment that pays for itself by helping sell properties faster and at higher prices.
Wrapping Up
Capturing the perfect real estate photos requires a blend of art, technique, and a bit of marketing savvy. By following these 10 tips, realtors can create compelling listings that stand out in the competitive real estate market. Remember, in the end, it's all about presenting the property in its best light to attract the right buyers. Happy shooting!
FAQs
Q: Can I use a smartphone for real estate photography?
A: While smartphones can work in a pinch, for the best results, a DSLR camera with a wide-angle lens is recommended.
Q: How much does professional real estate photography cost?
A: Costs vary by location and the photographer's experience, but investing in professional photography typically offers a high return on investment through faster sales and higher selling prices.
Q: How many photos should I include in my listing?
A: Aim for 30-50 high-quality photos for a standard listing. This gives potential buyers a comprehensive view of the property without overwhelming them.
Experience Counts
I have been shooting real estate for 10 years and trust me, I have seen it all! Experience goes even further that fancy equipment and cheaper prices.